Preliminary Topics: Identity, Objective, Audience, and Medium
Before jumping headfirst into any design, you should look before you leap. Consider these four preliminary elements:
- Brand/Identity: Evaluate and understand the brand you’re working with and its values.
- Audience: Who are you trying to connect with, and what are the major demographics?
- Objective: What is the project, and what are you trying to achieve?
- Medium: Establish the criteria for the project and how it is going to be implemented.
The project elements above are the foundation of our design philosophy. Our team weighs each aspect before beginning a new project, after its completion, and at any point along the way — especially if we feel we are drifting too far from the original plan.
Let’s review each of these core principles in further depth.
Brand Identity
If you’re introducing yourself to a new brand, take time to become familiar with its core elements. Review and understand the brand guidelines, visit the website, and examine existing collateral assets. Also, discuss the organization’s values, mission statement, elevator pitch, history, and goals with key stakeholders.
Once you understand the foundational elements of brand identity, your design strategy will naturally align.
Audience
Define your audience with more than just sweeping generalizations. Envision the ideal client and which design elements will help them most — should you place those in the forefront? How do you want your audience to interact with your designs? Do your intentions align with reality? Consider age, gender, location, occupation, and income, among other relevant demographics. Depending on the scale of the project, try breaking down the target audience into a focused three main sections. Let’s assume you’re trying to attract multiple age groups. By breaking up your demographic into three distinct age groups, you’ll have an easier time thinking through the variety of users, their attention spans, and potential problem areas.
Objective
What is the goal of the project and will it achieve its intent?
Are you:
- Creating a landing page for an eBook to use for a lead nurturing campaign
- Shaping a modern and user-friendly email template to improve click-through-rate CTR
- Designing a display ad to promote a service or product
- Adding a content page that matches the rest of the site
- Designing a header image or graphic
- Redesigning an entire website
I try to narrow the primary goal into its simplest form, even if each objective is only one small part of a larger initiative. This keeps things simple and allows the designer to build on each minor success as part of a larger holistic aesthetic.
Medium
Your objective will inform your medium early in the planning stages. Consider how the design will be implemented. For instance, if you’re designing a webpage, think ahead to identify any challenges early in the process. If you’re creating an email template, be aware of the layout restrictions, best practices, and any testing procedures (especially with Outlook).
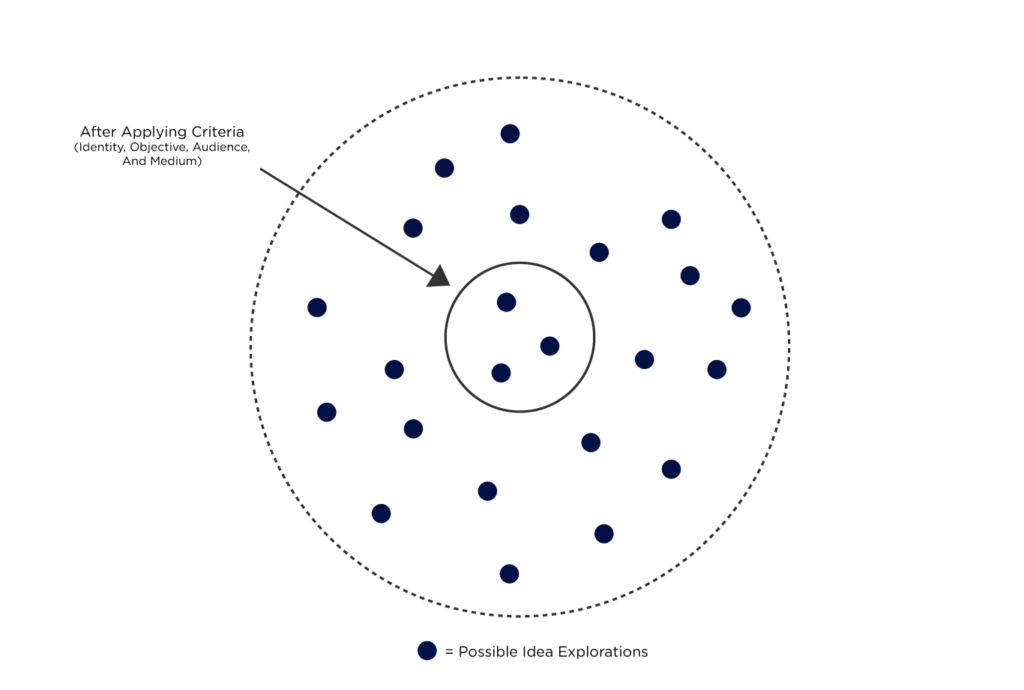
These foundational elements will set you on the right path to bring your designs to life and ensure brand alignment.
RELATED: Best Practices for Infographic Ideation, Development, and Design
Bringing Your Designs to Life
There are four main stages of creating successful, engaging design. For clarity, I’ve broken it down into a simple formula:
(Planning + References) x Implementation + Revisions = Final Product
1. Planning: Sketching and Zeroing in
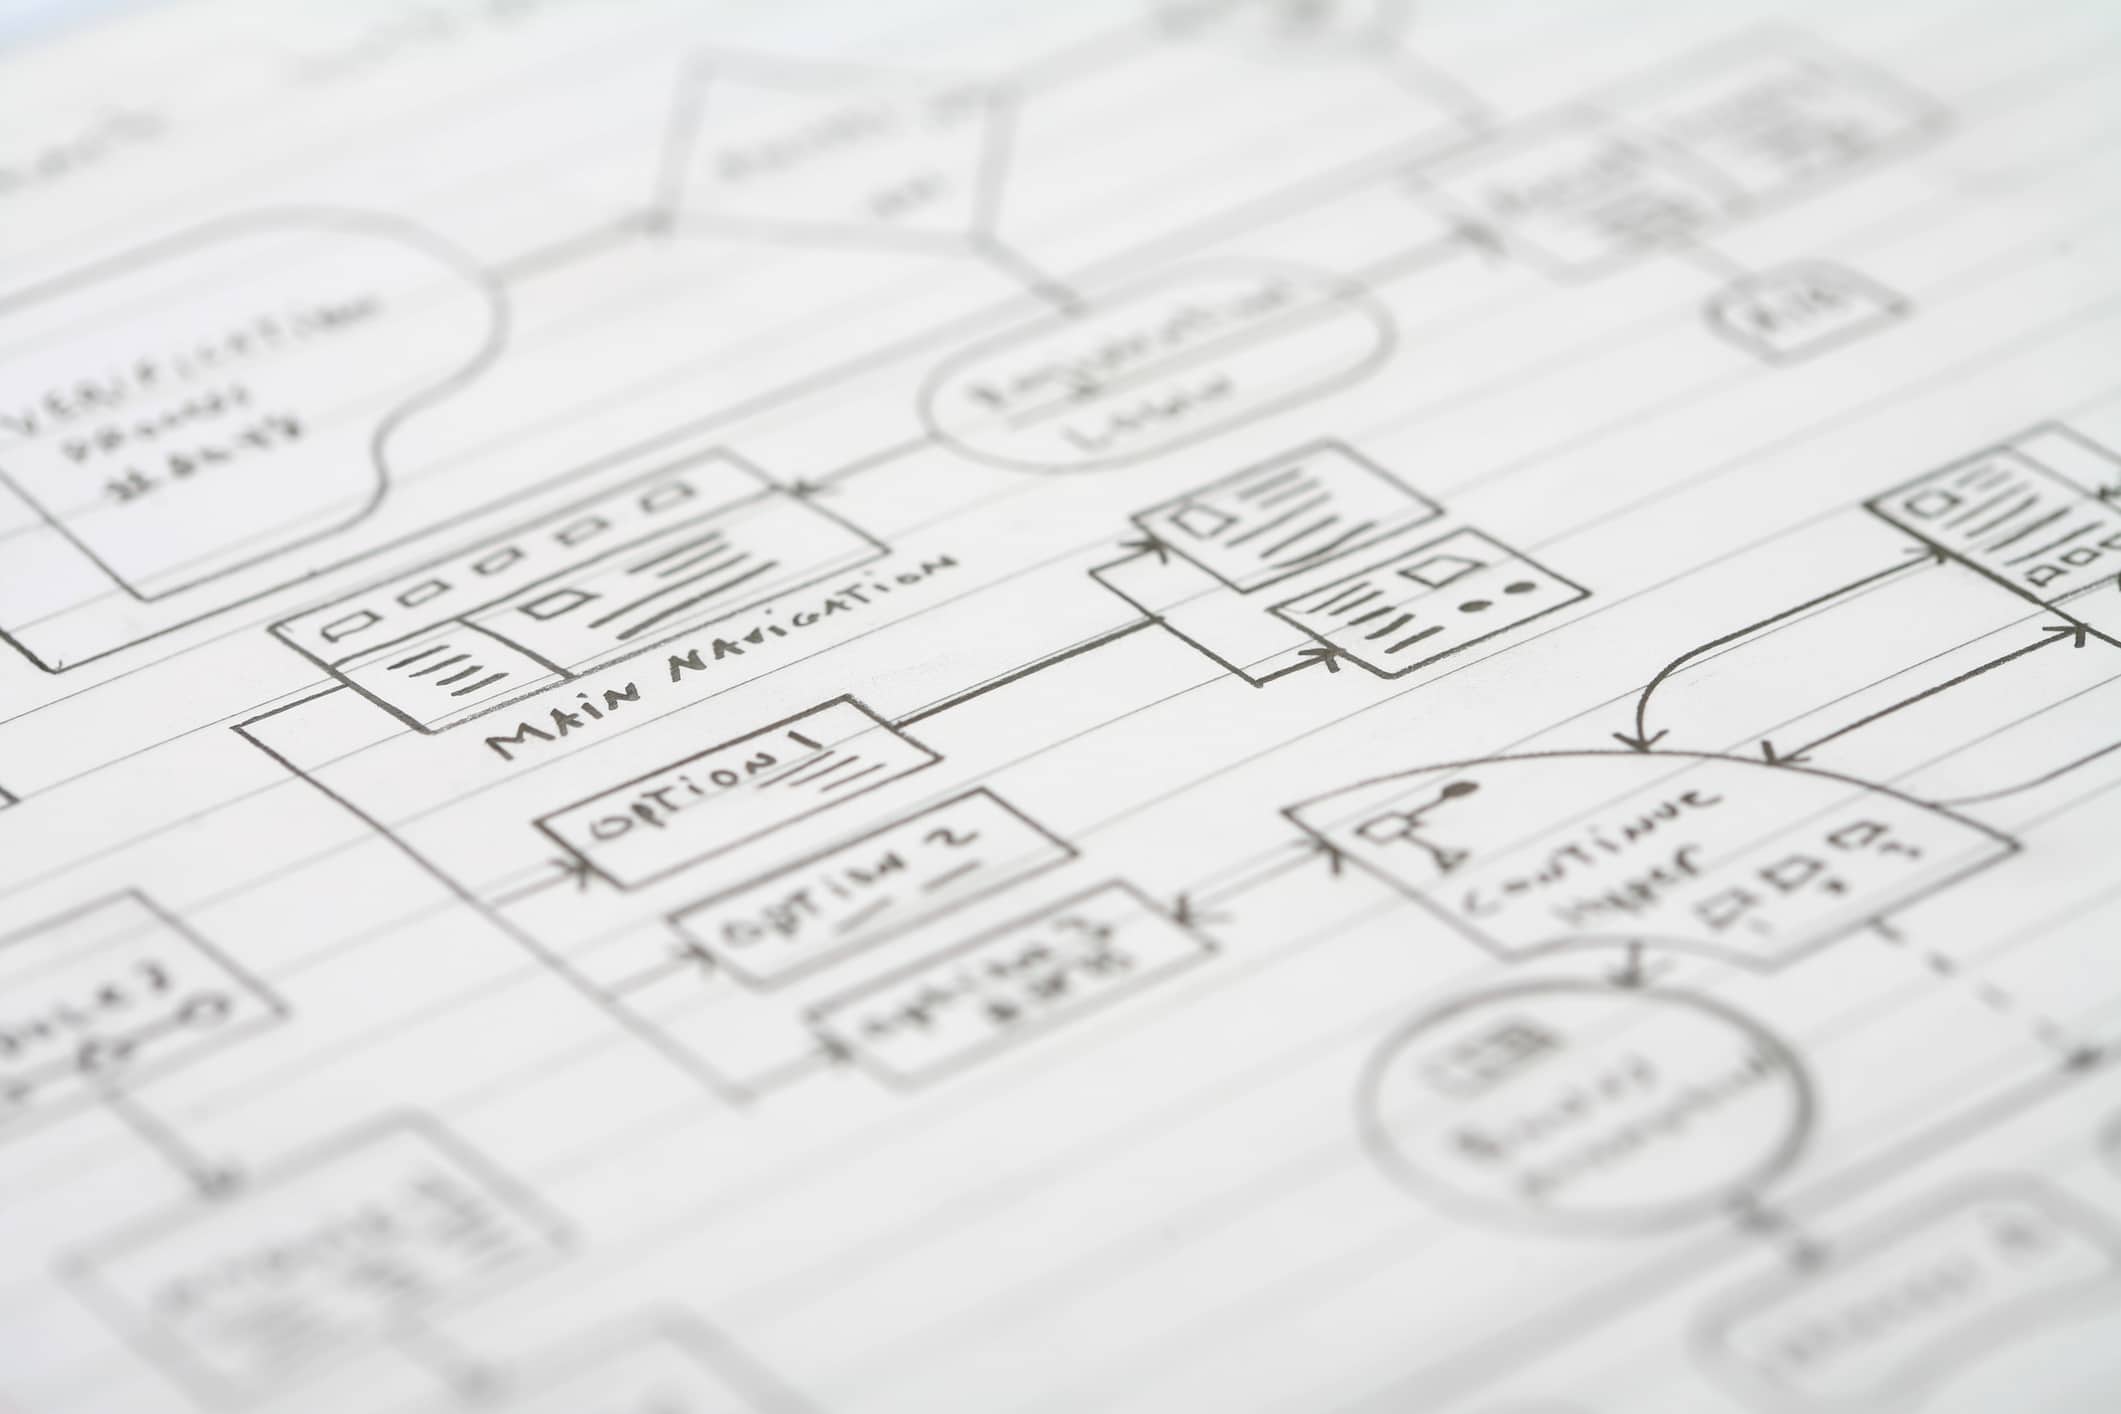
We recommend sketching constantly to keep your skills sharp. It’s the design equivalent of freewriting — a quick and easy way to keep the ideas flowing. When you begin a project, always remember the foundational elements of design, and begin sketching your initial ideas. If you are designing a page layout, think about what content needs to be at the forefront and what elements are there to support the main purpose of the page. Here’s a recent sketch from my notebook.
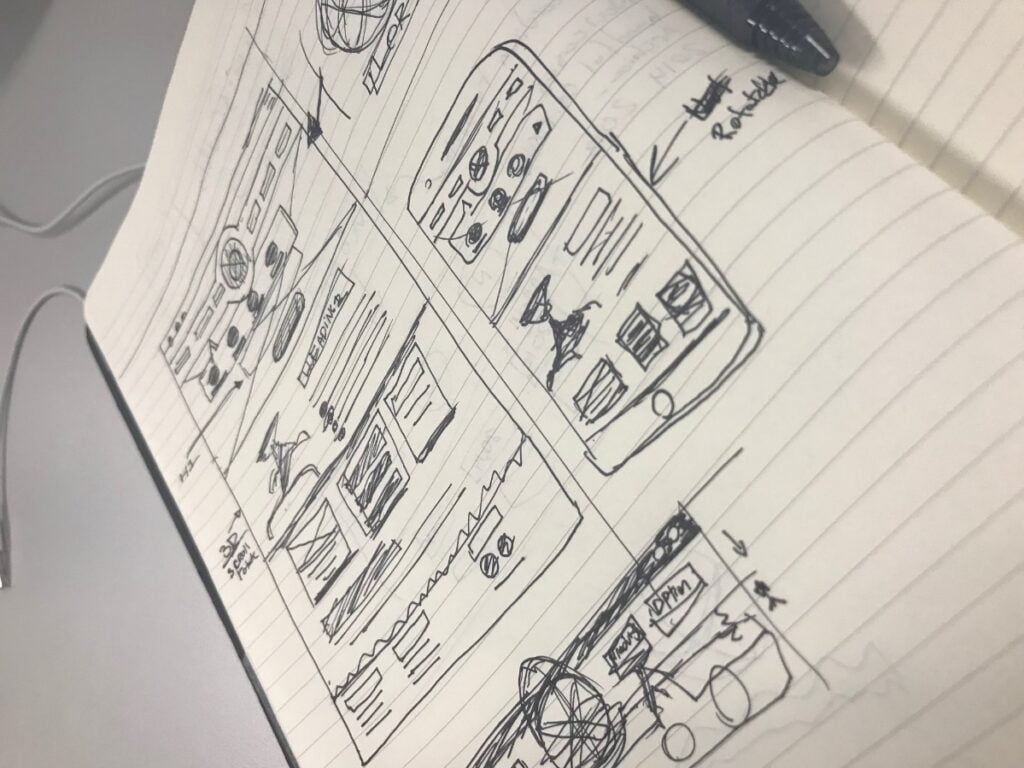
Along with general sketching, your references and resources should influence one another.
2. References and Resources: Borrow and Create
There’s nothing wrong with borrowing inspiration from other sources. Build your skills by trying to recreate work you admire. This will help you understand the original designer and determine how and why they made their choices.
My team members and I constantly visit other sites for inspiration, including Codepen, Dribble, Tumblr, and Pinterest. I have a board called “webby world” where I add anything that sparks an idea related to web design (below). You should also gather reference elements for individual projects wherever possible. Make a folder and add references that relate to the design objective of each individual project.
Soak up as many ideas as possible; then ring your creative sponge dry by sketching, doodling, and working on side projects. This will keep your ideas fresh and flowing. Take it a step further by researching the influences of the artists you admire. Note which elements they use consistently as well as those they alter throughout their designs.
3. Implementation
Back to the formula: (Planning + References) x Implementation + Revisions = Final Product
When you begin implementing your design, utilize your references and planning. Hopefully, you have narrowed it down and considered which references can be appropriated to fit your vision.
Stay away from nitpicking small elements like micro-positioning and colors tweaks — you can edit those later. At first, you should add page elements and consider the user flow.
Here is a breakdown of the principles of design to review. These are easy to refer to if you run into a problem and can’t identify the solution.
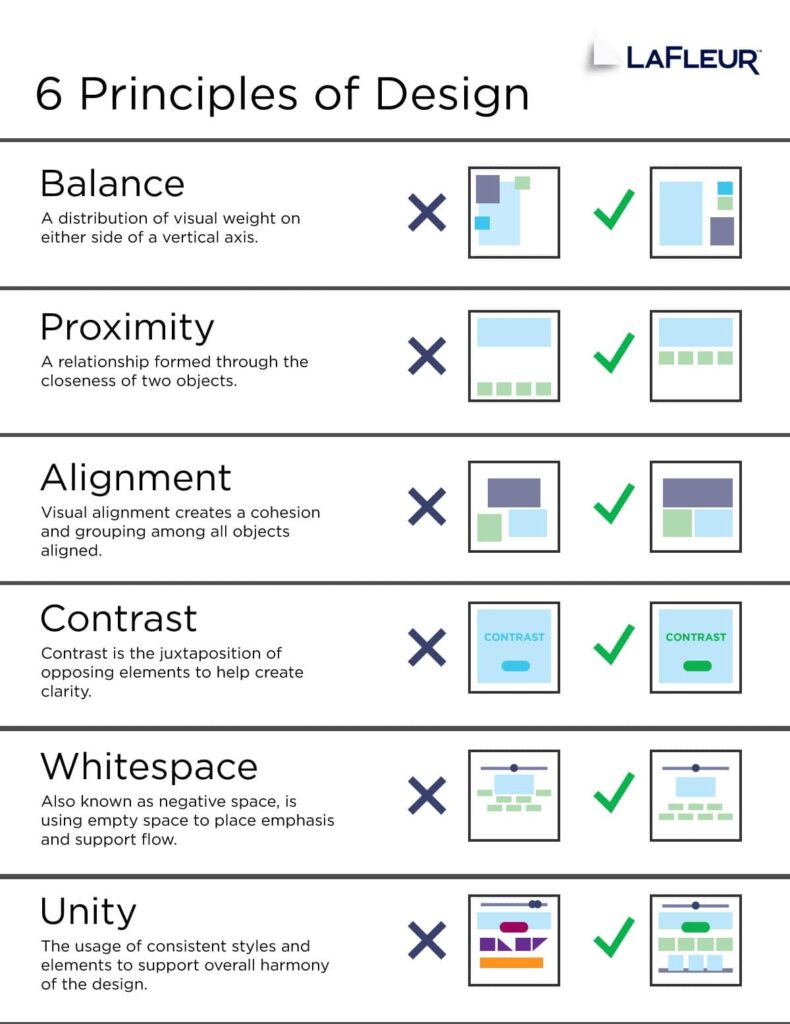
- Balance: A distribution of visual weight on either side of a vertical axis.
- Proximity: A relationship formed through the closeness of two objects.
- Alignment: Creates a cohesion and grouping among all objects in a frame.
- Contrast: The juxtaposition of opposing elements to help create clarity.
- Whitespace: Also known as negative space, whitespace is the use of empty space to place emphasis and support flow.
- Unity: The usage of consistent styles and elements to support overall harmony of the design.
3. Revisions
Review your project several times with a critical eye. Remember your audience and make sure they are accounted for. Test your project in as many ways as you can: Check to make sure every link works and be sure to emphasize the mobile layout. Discuss potential edits with the client and walk them through your process and choices to help them understand your strategy. If they have critiques, don’t take them to heart. Once you click “save” or “send,” the project belongs to them.
4. Final Product
Finally, it’s time to take the cake out of the oven! Hopefully this guide helps you with your design projects to create something intelligent, engaging, and inspirational.
References
The principles of design. (2015). J6 Design. Retrieved from http://www.j6design.com.au/6-principles-of-design/

