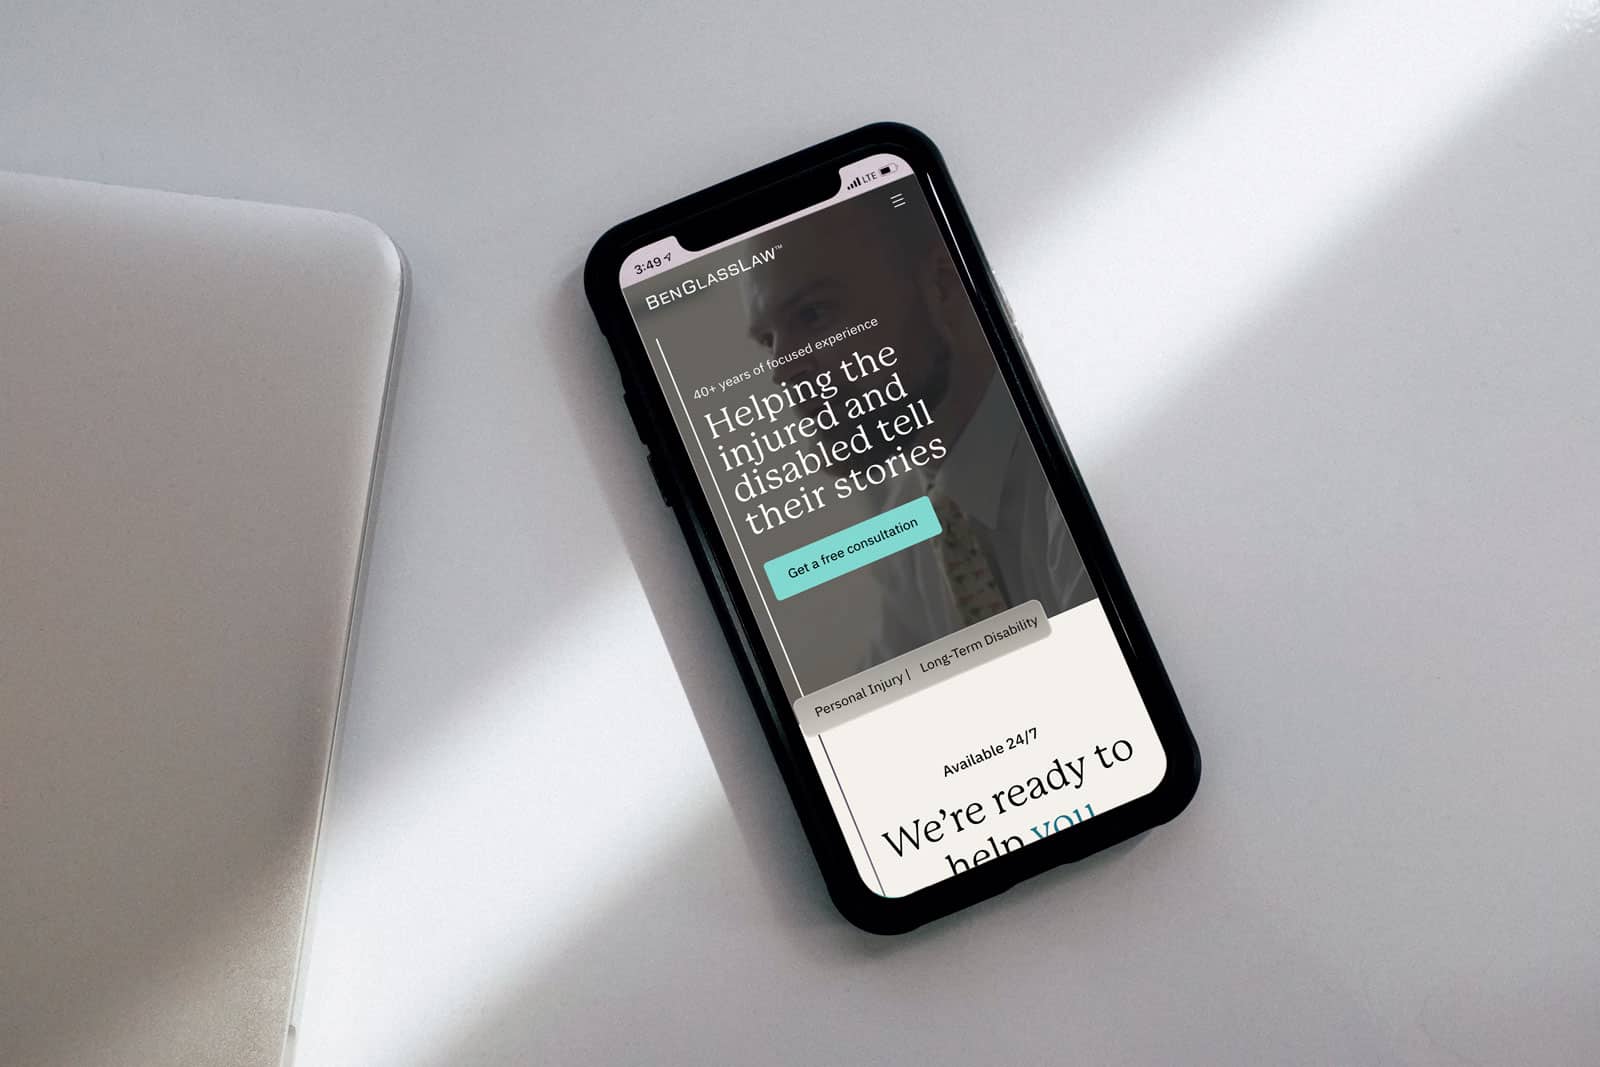
Regardless of your business type, if you want to inspire trust and gain new and loyal clients, your website, landing pages, and social media profiles should be tastefully populated with crisp, professional testimonial videos featuring enthusiastic clients.
It’s a classic Field of Dreams scenario: If you film it, they will come. Of course, not all testimonial videos are created equal, so you need to develop and shoot stellar videos to separate yourself from the competition.
This week, we’re going to examine how to get the most bang for your buck when shooting client and customer testimonials — and that begins with drafting the right questions, utilizing efficient tools and materials, and shooting and posting the best footage possible.
Drafting Your Questions and Casting Your Stars
Before you can craft your cinematic masterpiece, you need to write your script. But since we’re dealing specifically with testimonial videos, it would be more accurate to say you need to draft a series of questions that will elicit positive, genuine statements about your company’s services or products.
Consider your company’s greatest assets and how those assets create value for your customer base. Do you develop intuitive, easy-to-use software? Are you dedicated to providing comprehensive medical treatment? Have you delivered excellent customer service for people in need? Focus on your greatest attributes and accentuate these qualities whenever possible.
The key here is forethought and anticipation. If you’re asking simple and direct questions you know the subject will respond favorably to, you’re almost guaranteed to receive enthusiastic answers that paint your company in a positive light.
Try to divide your questions so they’ll result in an organic and logical narrative. Think about it this way:
- What problem was the client trying to solve?
- How did they first hear about your company?
- What made them want to engage?
- Did your products or services solve their problem in a way that exceeded their expectations? If so, how?
- What was the result of their interaction with your company?
- Can the customer pinpoint one or two truly exceptional aspects of your products or services?
- If there were any issues throughout the process, what did your company do to resolve the problem?
Finally, give your subjects the chance to add extra information about their experience with your company. Often, the key to capturing the best footage is to let your interview subject speak in their own words about your company and how you solved their problem or met their need.
Once you’ve drafted a series of questions that you think will result in quality answers, it’s time to consider which customers you should interview. Ask yourself: Who has walked through your doors or visited your site in the recent past whom you know had an excellent customer experience?
One way to narrow down the list is to create and send automated emails asking for customer feedback. If you’ve done good client intake work on the front end, you should have a lengthy contact list. And if you’ve delivered on your promises to customers, many of those contacts will likely be willing to take a few minutes out of their day to complete a brief survey about their experience with your company. Individuals who give glowing reviews and positive feedback are natural candidates to participate in your testimonial video.
Once you have a good understanding of who might appear in your video, follow up with a phone call to ask if they’re interested. At the same time, gently screen them to make sure they’re a good fit. The most enthusiastic customers usually make the best testimonial subjects. Make sure they understand what you’re asking of them and that they’re willing to sign a waiver to participate in what could potentially become a very public appearance. You don’t want to finish post-production on the perfect testimonial only to get a call the next day requesting that you don’t use it!
Be specific about the details of production in your initial phone call and in a follow-up email (texts never hurt, either). You should also include the list of questions you plan to ask so your subjects have the chance to prep. Make sure your interview subjects know exactly where to go and at what time. Encourage them to dress appropriately and let them know how long the shoot should last.
Also, remember that you should always schedule more interviews than you think you need. Unfortunately, not everyone will show up, and others won’t come off as well on camera as you’d hoped.
Lastly, make sure you have refreshments waiting for your cast on filming day. We find that our subjects are usually much more engaged and enthusiastic when they’ve had a satisfying snack before the shoot. Bagels, fruit, juice, and coffee are more than enough to get them feeling perky and excited about their turn in the spotlight.
RELATED: Video Killed the Analog Star: Great Video, Ideal Clients
The Elements of a Successful Shoot
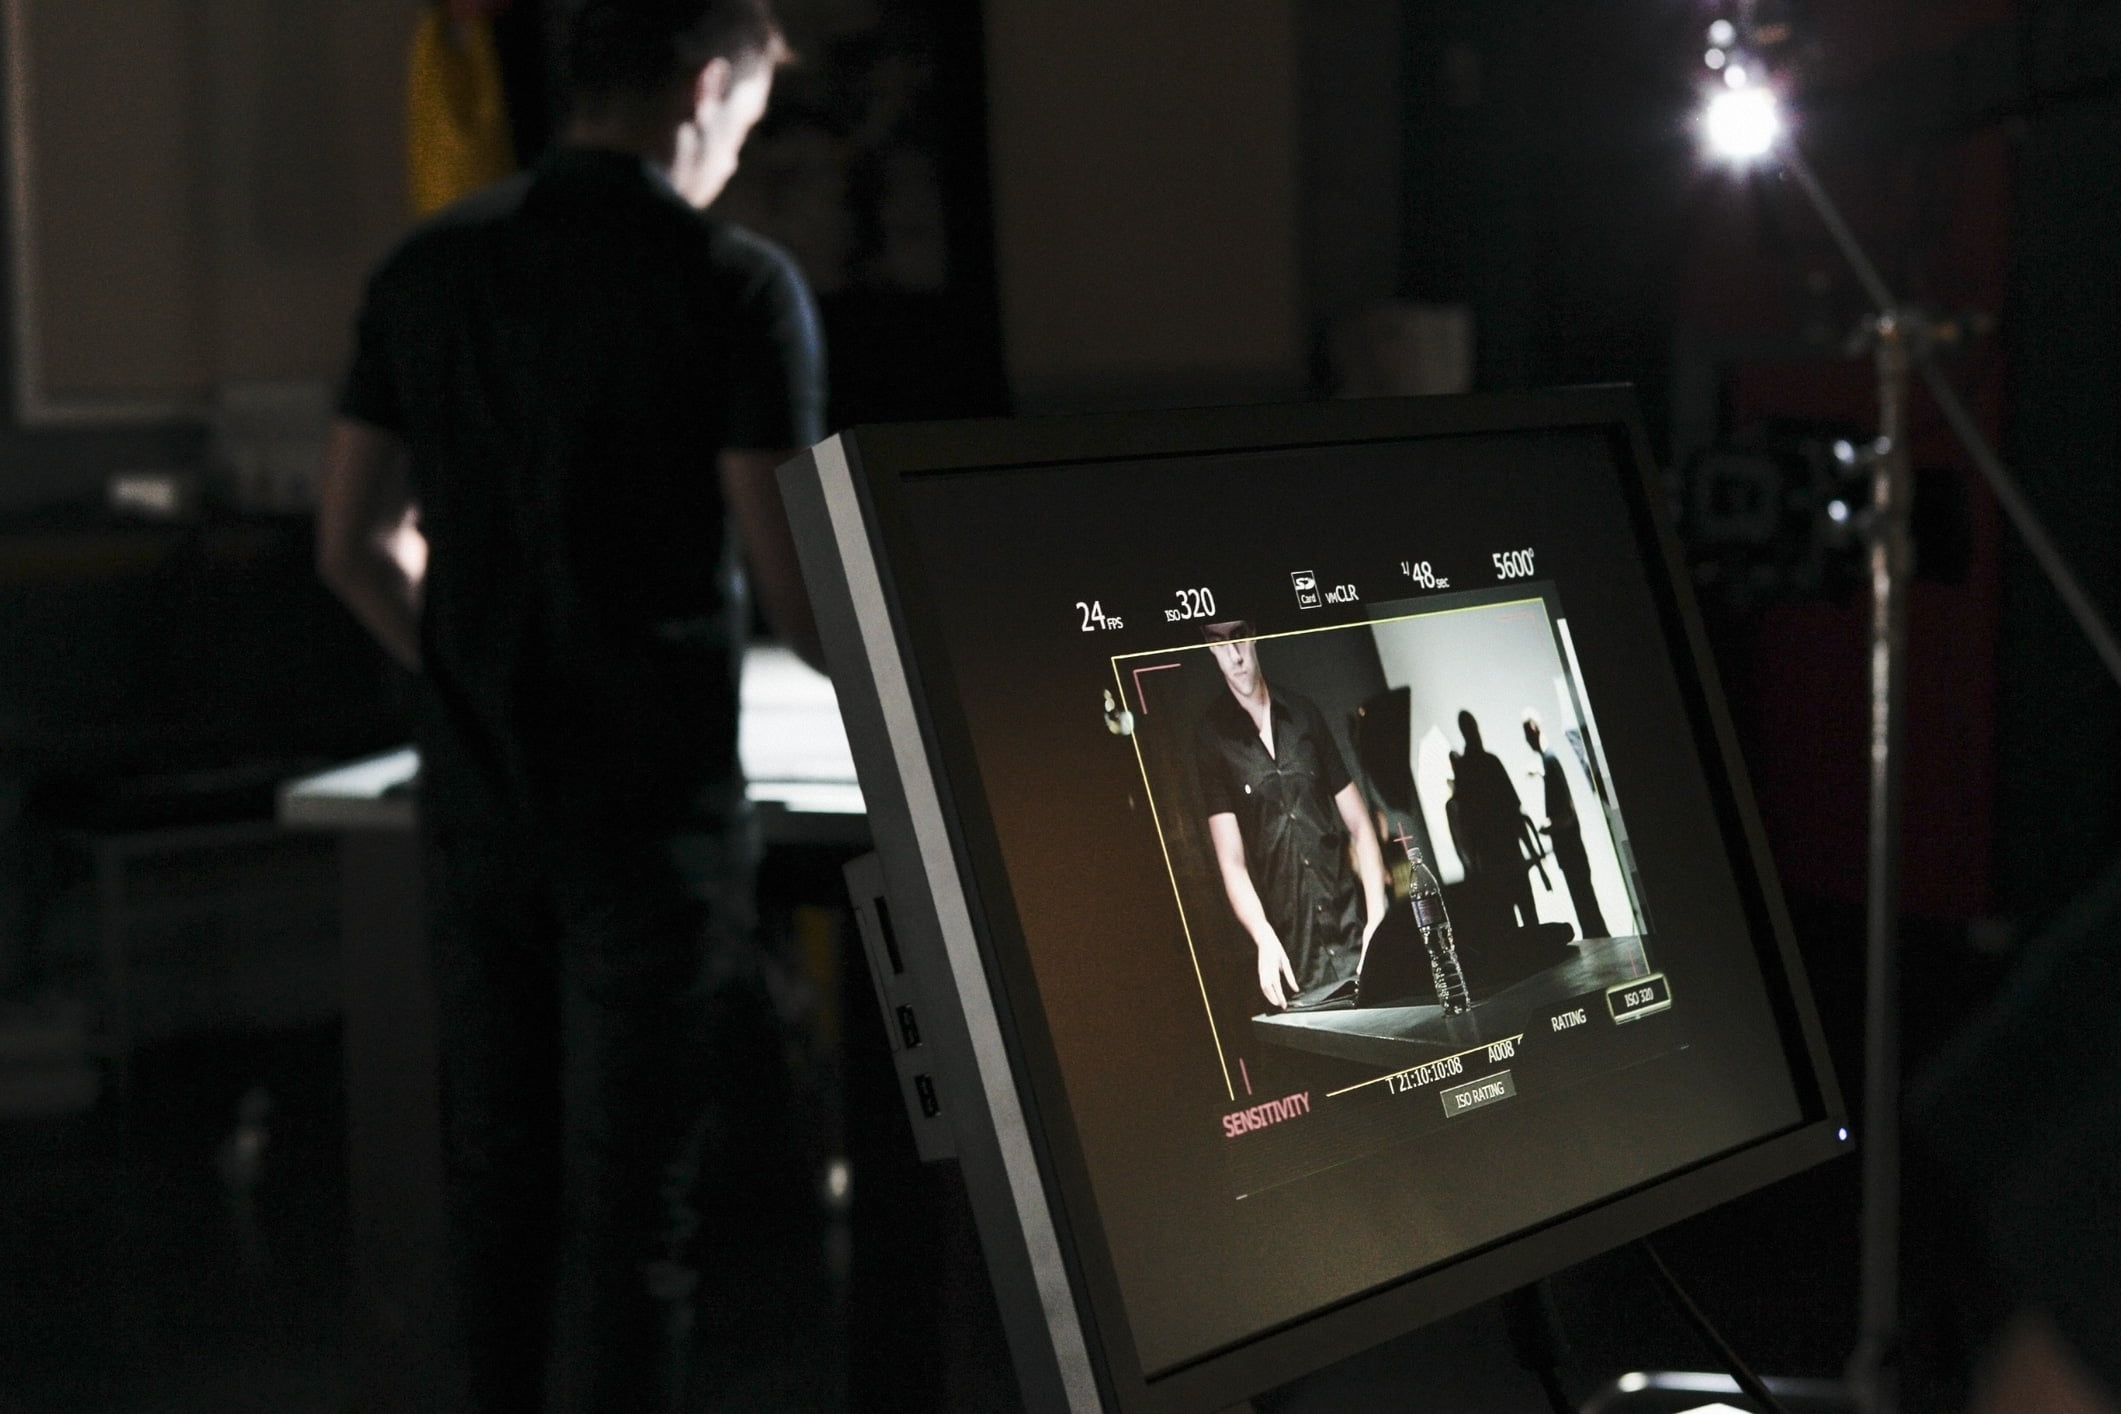
They say a carpenter is only as good as their tools. Fortunately, when it comes to shooting outstanding testimonial videos, the auteur can get by with just a few essentials. Find or manufacture flattering lighting, eliminate noise, capture lots of B-roll footage, and keep that camera rolling — you never know what might happen!
Location
Perhaps most importantly, you need to find a location in a controlled environment with enough space that allows you to manage and manipulate the lighting and the audio. Often, the ideal setting is in a noise-controlled area of your office. Depending on the aesthetic you’re trying to achieve, you may or may not want employees or foot traffic in the background of your shot. A bit of hustle and bustle can show your audience that your company is thriving and active, but a static background promoting your brand designs could also allow viewers to focus on the subject’s relationship to your company.
If you don’t have an office, consider renting studio space in an area with minimal traffic and plenty of natural light. Also, make sure whatever space you use has adequate room for your equipment and your subject, with enough leftover space to frame your focus properly.
Camera
The type of camera you use to record your testimonial is probably the most overrated aspect of the process, but that’s not to say you should just whip out your iPhone and press record, either (although a camera phone fixed to a tripod could work with the right lighting, framing, etc.).
Here are your three primary camera options:
1. Smartphone or tablet: Best used with natural lighting and a wired lavaliere microphone, a smartphone or tablet could work in a pinch, but only when mounted on a stable tripod. On the one hand, you probably already own one of these devices, and they’re light and easy to transport.
On the other hand, relying on natural light can be risky business, and the zoom functionality on these devices generally yields terrible picture quality. Smartphone cameras also tend to give little control over depth of field and white balance, both of which are critical to getting quality footage.
2. Camcorder: Camcorders offer many advantages over smartphones and tablets, especially when paired with a good tripod and effective lighting. A camcorder gives the videographer a respectable degree of control over color saturation and sharpness, and the zoom function on these devices is much more effective compared to a smartphone. Plus, adding an LED lighting kit lets you control exposure and compensate for poor natural light.
The biggest drawback with camcorders is that they sometimes require additional accessories for peak performance, which can make them cumbersome to tote around and difficult to use for novice practitioners.
3. DSLR video camera: DSLR video cameras and interchangeable lenses typically give you the most creative freedom and the best odds of capturing pro-quality sound and video. If possible, splurge for a three-light LED kit to prevent your subject from blending into the background.
Unfortunately, a good DSLR camera won’t come cheap, and if you want to get the most out of it, the price will only climb as you purchase some essential accessories. Still, if you’re planning on shooting a lot of video in the foreseeable future and you want reliable, effective equipment to produce great footage, a DSLR may well be worth the investment.
While the type of camera you use matters, a great photographer can get compelling footage out of almost any camera, and poor technique can yield unusable footage even with a pro-quality setup. Positioning, framing, and lighting are essential to getting quality video, and you don’t need outrageously expensive equipment to apply these fundamentals.
Lighting, Framing, and Audio
The space you choose will affect how much time you dedicate toward lighting, framing, and audio. The first choice you need to make is whether to have the subject look directly at the camera or at the interviewer. People tend to get skittish when forced to look directly into a lens for more than a few seconds, so we usually suggest the interviewer sit two or three feet to the side of the camera. This results in a more natural interaction between the interviewee and interviewer, and it subtly encourages your subject to open up and emote.
After deciding on the eyeline, it’s time to settle on how to frame your subject. Unless you’re going for a Wes Anderson feel (not a great idea for most testimonial videos), you probably don’t want to place the interviewee smack dab in the middle of the frame. So, you’ll have to choose which side of the frame will have more space. The side with more space is called the long side, and the side with less is called the short side.
We recommend long-sided framing to give the illusion of more natural space and balance, but depending on the tone of the message you’re attempting to convey, short-sided framing might be more effective — especially if you’re trying to capture intensity, desperation, or heartbreak (which might be the case if you’re focusing on the client’s initial pain point).
Now that your subject is positioned just right, you need to define the aesthetic of the video by incorporating lighting. In some instances, depending on where you live, time of day, and the weather outside, the natural light might align perfectly with the message you’re trying to convey. More likely, though, you’ll need at least a little help getting things just right.
Since we feel that long-sided framing is generally the most effective framing method, we’ll use that approach to describe how you should position the elements of your shot for optimal lighting. Your subject and interviewer should be seated across from another, with the camera placed just to the left of the interviewer and fixed on your enthusiastic subject. Your subject should be roughly one-third of the way in from the left of the frame in your viewfinder, and they should be looking toward the interviewer on the right.
From there, place your key light just behind your camera and to the right. This will illuminate the subject on the long side of the frame. Conversely, your fill light should be lighting the short side of the frame. If you don’t have any artificial light or you’re deliberately relying on natural light, position the subject in such a way that the light source illuminates the long side of the frame.
Editing and Post-Production
After your shoot is done, you’ve still got plenty left to do. Ask any filmmaker, and they’ll tell you that most films don’t come together during shooting. Instead, they take shape in the editing room.
Thankfully, editing can be very satisfying. It’s your turn to interject yourself into the process and create a narrative out of a raw collection of footage.
There are plenty of free online editing software tools you can use to craft your narrative. Most of these tools will let you add titles, subtitles, transitions, and even music and sound effects. Most importantly, the post-production phase is where you can book-end and intersperse your video with consistent brand elements to tie everything together and put your company’s stamp on the story. You can also include a strong call to action and relevant contact information to optimize the video for your desired conversion action whether it involves a form-fill, a phone call, or a social media share.
Editing also allows you to fix any flaws in your footage. You want to nail the shot in the moment as often as you can, but it’s unlikely that every shot will come out of the camera ready for prime time. So, it’s important to go back and clean up mistakes after the fact. Editing software can improve poor lighting, fix issues with focus or color, normalize volume levels, and eliminate unwanted background noise.
Post-production is often the most tedious and difficult aspect of developing quality testimonial videos, but don’t worry if you’re struggling with it. We know some folks who can help.
RELATED: Lights, Camera, Action! Maximizing the ROI of Video Campaigns Throughout the Sales Funnel
LaFleur: Your Full-Service Digital Marketing Agency
At LaFleur, our videographers combine best practices and innovative techniques to capture and distribute winning testimonial videos. And we do so in a way that benefits your entire digital marketing strategy by posting to your company’s main website, social media platforms, paid advertising landing pages, and more!
If you’d like to learn more about our approach to shooting and distributing powerful, conversion-optimized videos or find out about any of our other digital marketing services, we’d love to speak with you. Please complete this brief form or call us directly at (888) 222-1512. (Psst… That’s your cue.)
References
Gannon, P. (2018). The ultimate how-to guide to video testimonial production. Thoughtcast Media. Retrieved from https://thoughtcastmedia.tv/video-testimonial-production/
Klein, R. (2017, June 28). How to make an effective testimonial video. Forbes. Retrieved from https://www.forbes.com/sites/forbesagencycouncil/2017/06/28/how-to-make-an-effective-testimonial-video/#28139ccf51d2
Ward, C. (2015, September 22). How to shoot video testimonials. Premium Beat. Retrieved from https://www.premiumbeat.com/blog/how-to-shoot-video-testimonials/


